How to Organize a Makeup Bag
Keeping a makeup bag organized not only makes it look nice, but it helps make finding things easier too. There is more to organizing a makeup bag than just keeping it clean and tidy, however; you have to know what to bring and what not to bring. If you pack too much into your bag, not only will it get cluttered and disorganized easily, but you also risk damaging the things inside it.
1Clearing Out Your Bag
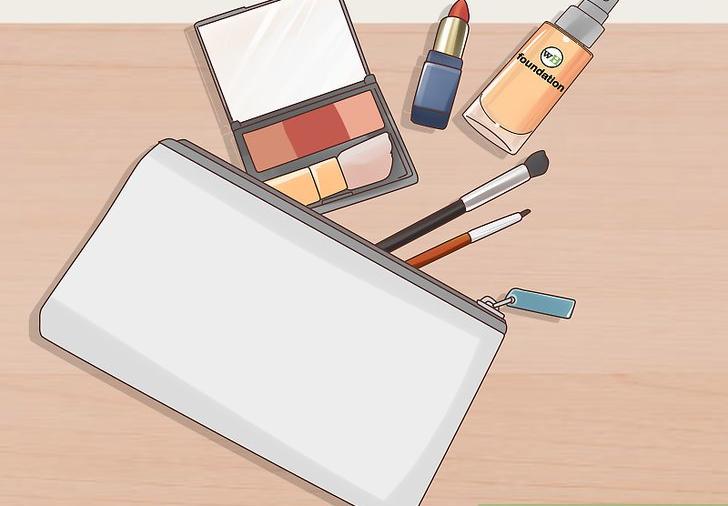
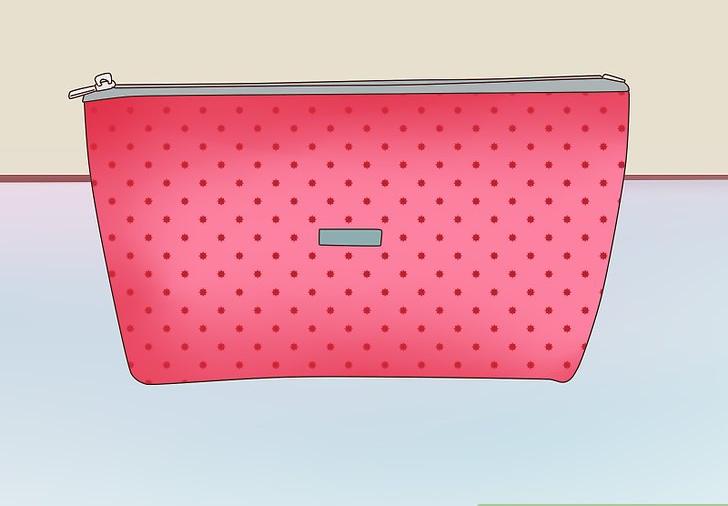
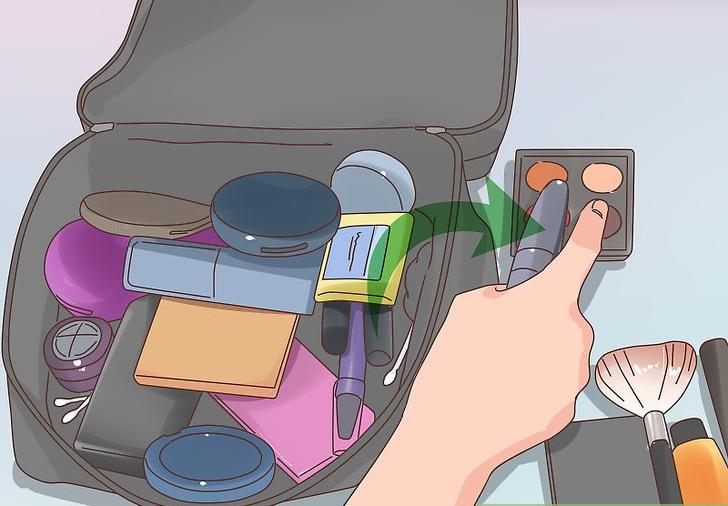 1Empty your bag. Spread a towel out on your counter so that it doesn't get dirty. You can use an old sweatshirt or shirt instead of a towel. Open up your makeup bag, then dump everything out onto the towel.[1]
- If the bag is dirty inside, you should wipe it down with disinfecting wipes.
- If you can't get the bag clean, consider getting a smaller makeup bag with a nylon, plastic, or vinyl lining.
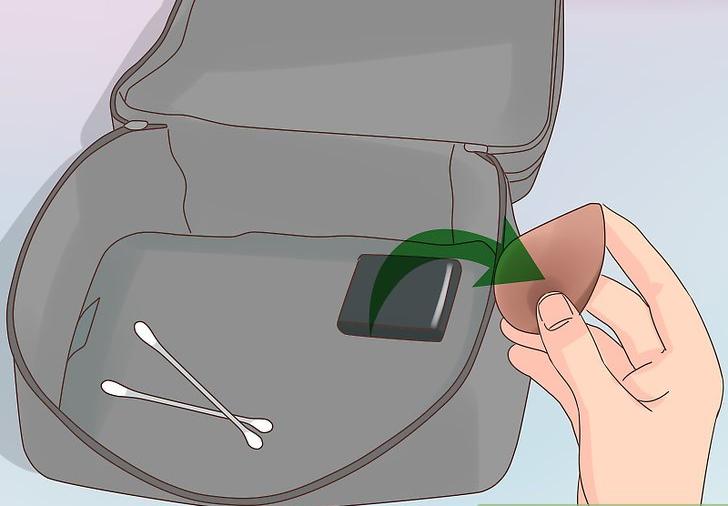 2Remove any trash and broken or expired makeup. This includes things like used makeup sponges, dirty Q-tips and tissues, and wrappers. If you have any makeup that is broken or expired (generally after six months), toss it out as well.[2]
- Write down the brand and color of whatever makeup item you are tossing so that you can replace it with the same product.
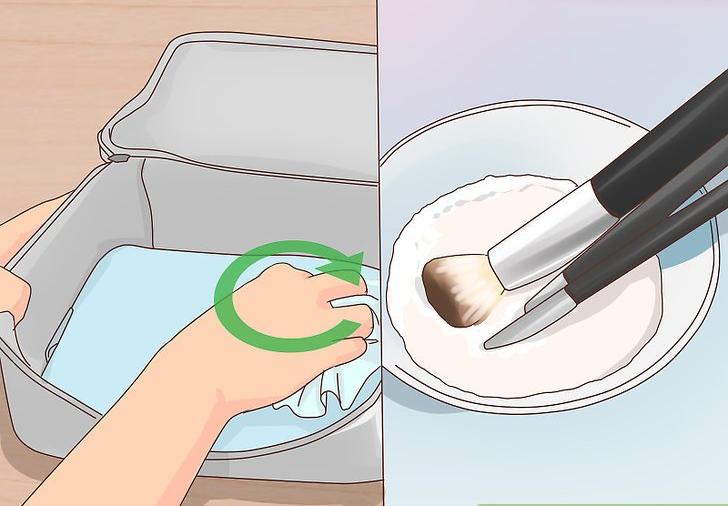 3Clean your makeup cases and brushes. Get out some disinfectant wipes, then use them to wipe off any dirt or grime from your makeup cases. Clean your brushes using a brush cleaner or some water and mild soap. Take a moment to sharpen your pencils too.[3]
- If you don't have disinfectant wipes, use a paper towel soaked in rubbing alcohol instead.
- Be sure to set your brushes out on a clean towel to dry.
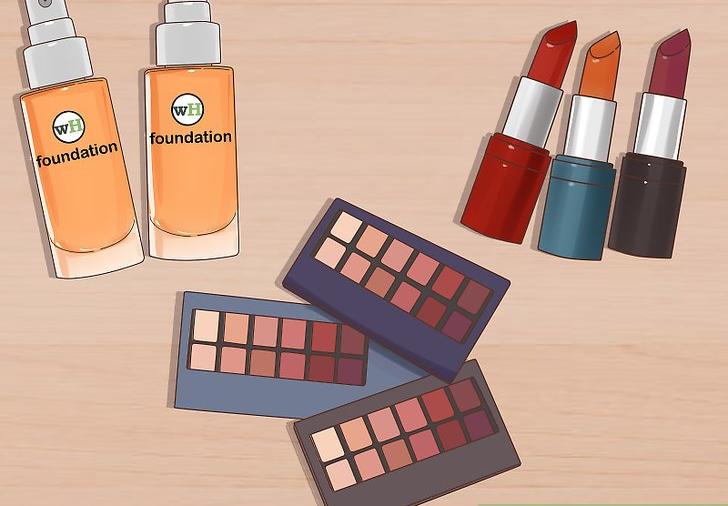 4Sort the items into groups. Place all of your eyeshadow into 1 group, your lipstick into another, your foundation into a third, and so forth. This will help you see how many of each item you have in your bag.[4]
- Keep all of your brushes in 1 group. If they are still drying, leave them on their towel.
- If you only have 1 palette of blush and 1 palette of eyeshadow, you can keep them in the same group.
- Alternatively, sort your makeup into 3 piles: a daily-use pile, an occasional-use pile, and a rarely-use pile.[5]
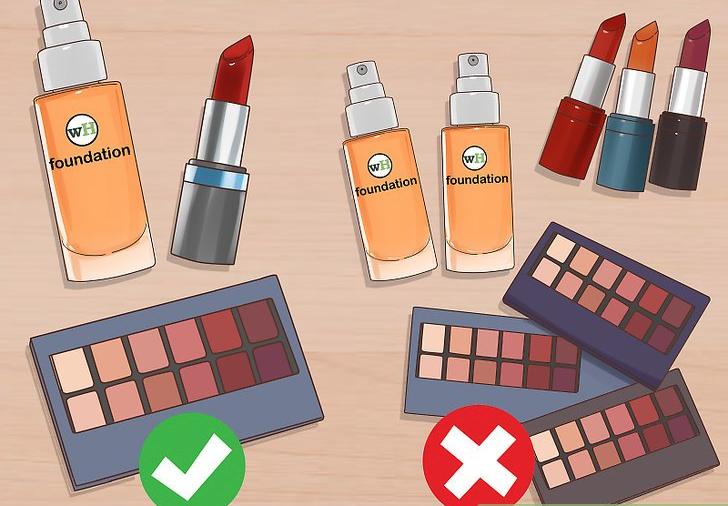 5Prune out the items you don't need or use. If you are taking the makeup bag with your to work or school, you don't need to carry everything with you. Instead of having 2 foundations, 5 eyeshadow palettes, and a whole host of lipstick, limit yourself to just 1 of each.[6]
- If you sorted your items into 3 groups, put away the items in the occasional and rarely-use piles.
- Keep the basics. This includes things like mascara, tweezers, lotion, and Q-tips.
 6Put everything back into the bag. If your bag has compartments, make use of them! Use skinny slots for pencils, and wider slots for mascara and lip gloss. Put palettes into pouches, and everything else into the main body of the bag.
- If you sorted your items into 3 groups, only the items in the daily-use pile should go into your bag.
2Packing Sensibly and Efficiently
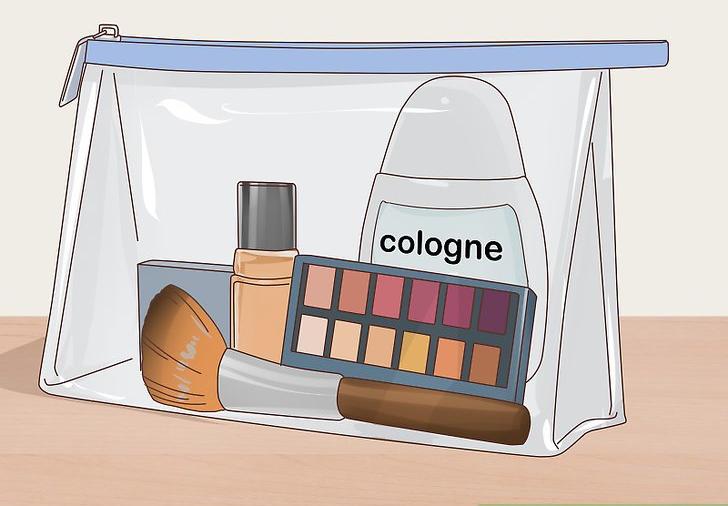
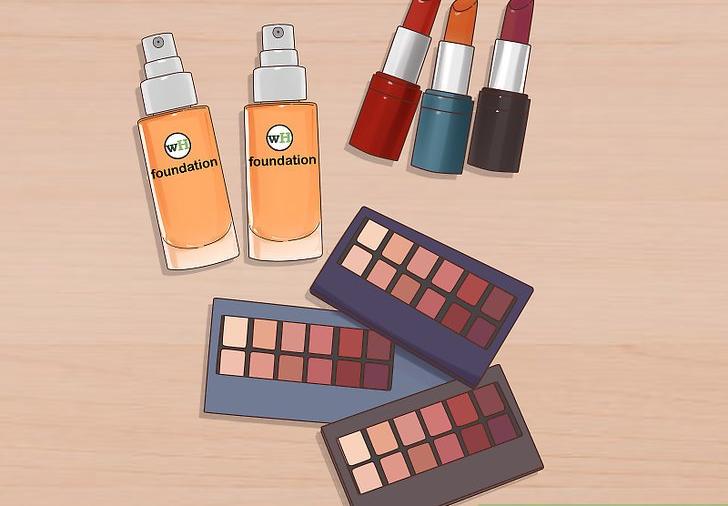 1Limit yourself to the items you use daily. Don’t bring all of your eyeshadow palettes with you, or all of your lipstick colors. Instead, choose 1 of each item that you use daily. Keep everything else at home.[7]
- If you are having trouble deciding which colors to bring, stick with neutral colors. These will work on a day-to-day basis.
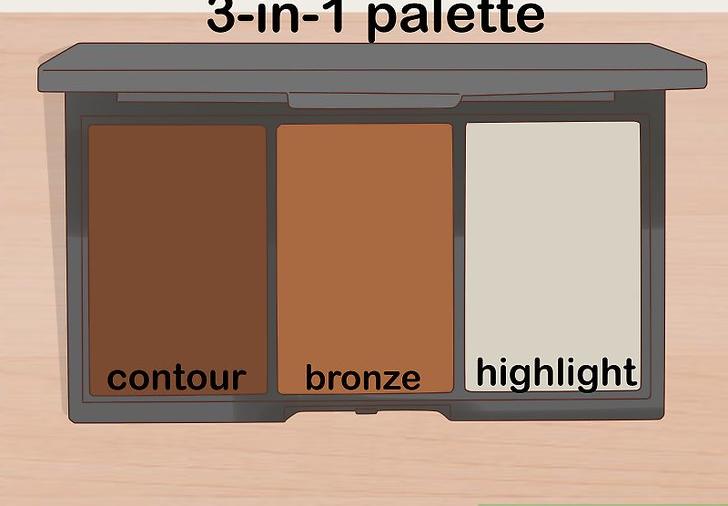 2Choose combination palettes to reduce clutter. Rather than having a separate palette for bush, and another palette for contour, and a third for highlighter, consider getting a 3-in-1 palette instead. For example, get a palette that contains blush, contour, and highlighter. Another great example is a multicolor eyeshadow palette.[8]
- Some single items can have multiple uses too. For example, you can use lipstick as blush![9]
- If your eyeshadow or blush already contains a mirror, then you won't need to pack a compact mirror.[10]
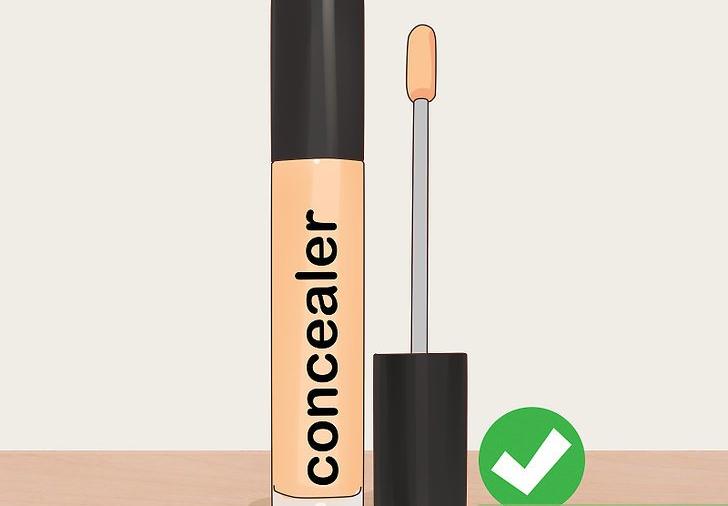 3Pack concealer instead of foundation to save space. The less you put on your face, the happier your skin will be. Rather than packing primer, foundation, concealer, and powder, consider packing just concealer to cover up the trouble areas, like under-eye shadows.[11]
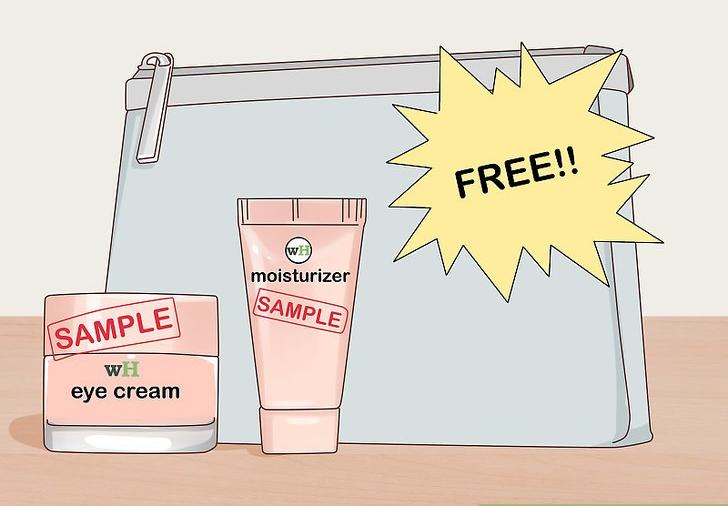 4Take advantage of sample and travel-sized products. Some department stores give gifts when you spend a certain amount on their products. These kits often contain miniature versions of popular cosmetic products, such as moisturizer and eye cream. They are the perfect size for makeup bags![12]
- Consider travel-sized versions of makeup wipes, Q-tips, cotton rounds, nail polish remover, etc.
- Can't find a mini version of your favorite product? Make your own! Fill a contact lens case with your favorite lotion or makeup remover.
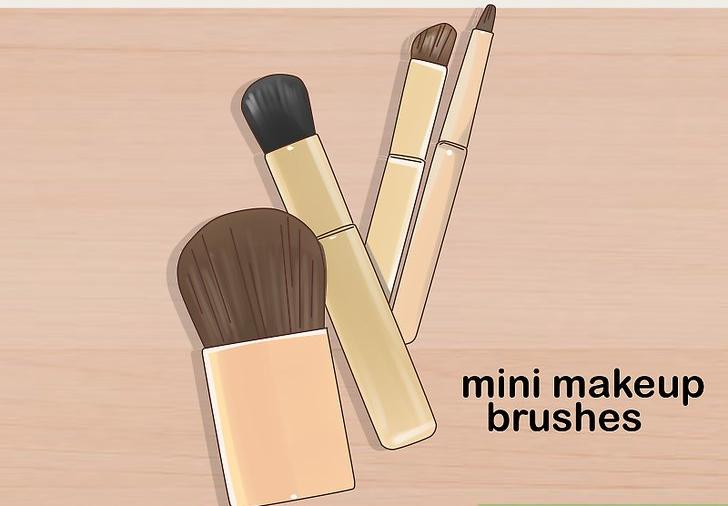 5Stick with mini makeup brushes. These take up much less space than the larger, standard-sized brushes. You can often find them in the impulse-buy bins of a beauty supply store.[13]
- If you can find mini versions of other makeup products, then get those too!
- Keep your brushes in their own pouch. If they did not come with a pouch, use a zippered bag.[14]
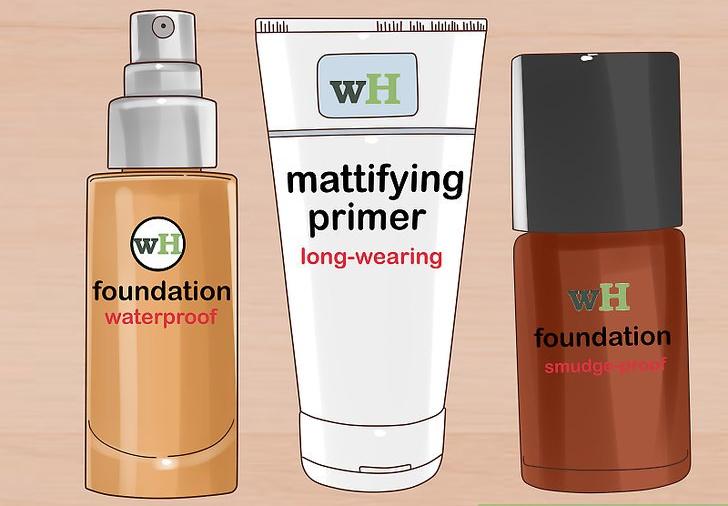 6Wear makeup that lasts longer. One reason people carry makeup bags with them is so that they can retouch their makeup throughout the day. If you wear products that are designed to last longer, you don't need to carry as much in your bag.[15]
- Look for labels such as: long-wearing, waterproof, or smudge-proof.
- Invest in a good primer and setting powder or spray. These can help your makeup last longer.
 7Use a smaller makeup bag. If you find that you keep stuffing your makeup bag with extra items, swap it out for a smaller bag. This will force you to pack only what you really need.[16]
- For example, a large makeup bag may have room for 5 tubes of lipstick, but a small makeup bag will only have room for 1 tube.
- Don't be afraid to keep multiple bags for different seasons and occasions.
3Staying Clean and Organized
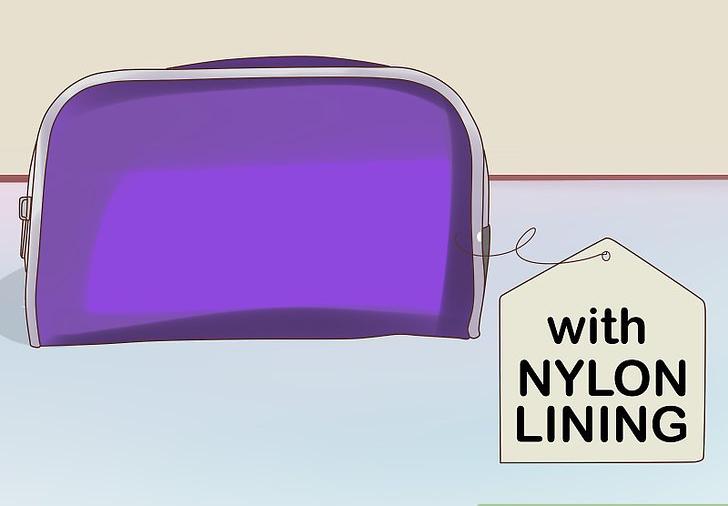 1Choose a bag with a nylon lining if you are buying a new one. Nylon is easier to clean than leather or fabric linings. Some bags even have plastic or vinyl linings, which are even easier to clean![17]
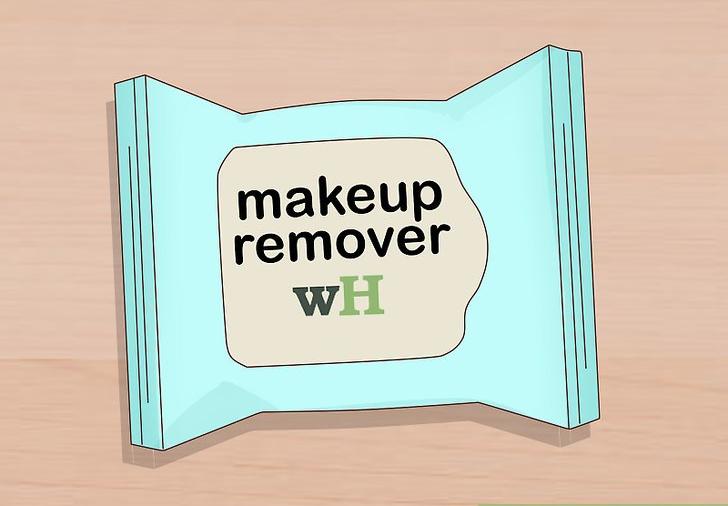 2Put some makeup-remover wipes in your bag. This way, if something spills, you can get to it quickly and reduce staining. Instead of choosing a standard=sized pack, however, pick up a travel-sized pack instead.[18]
- You can find these in drug stores and beauty supply stores.
 3Store items in plastic baggies to reduce spills. The simple plastic sandwich baggies with a fold-over top will do just fine for this, but a zippered baggie would be even better! To stay organized, keep similar items together in each bag.
- This is not absolutely necessary. If your makeup isn't prone to spilling, then you can totally skip this.[19]
- For example, keep all of your eyeshadow in 1 bag, and all of your lipstick in another.
- Keep brushes that you use for dark colors separate from brushes that you use for light.
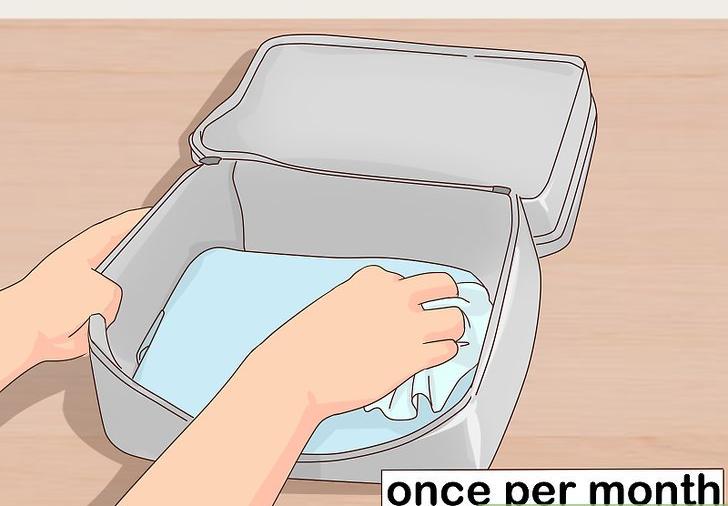 4Clean your bag out once per month. Take everything out of your bag, then wipe the inside of the bag clean. Next, wipe your makeup clean as well. It would also be a good idea to sharpen pencils and clean brushes.[20]
- Makeup sponges should be cleaned or replaced on a weekly basis.
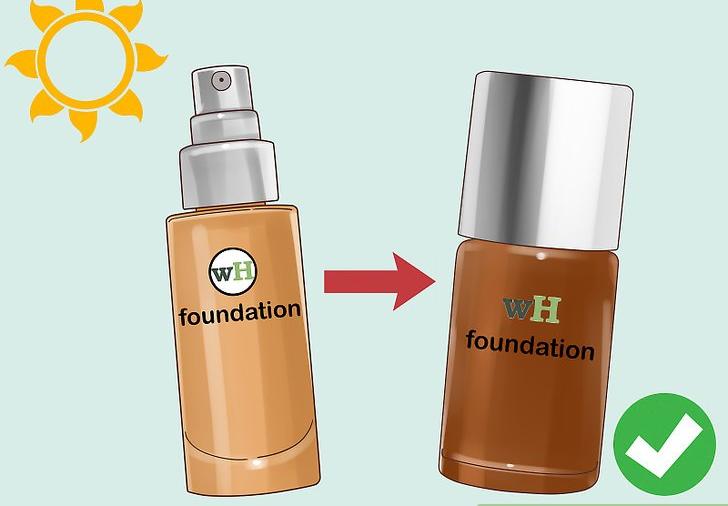 5Reorganize your bag at the start of each season. Chances are, you won't be using the same eyeshadow, lipstick, and foundation in the summer as you would in the winter. Since you aren't keeping everything in your bag, you will need to rotate the items as the seasons change. For example:[21]
- As spring transitions into summer, switch your foundation out for a darker shade. Swap your blush out for bronzer.
- As you enter fall and winter, switch out the pastel and pinky shades for deeper, richer shades.
- Check the makeup for expiration. If it has gone bad, replace it.


